
Start With the Work Sequence, Not the Floor Plan
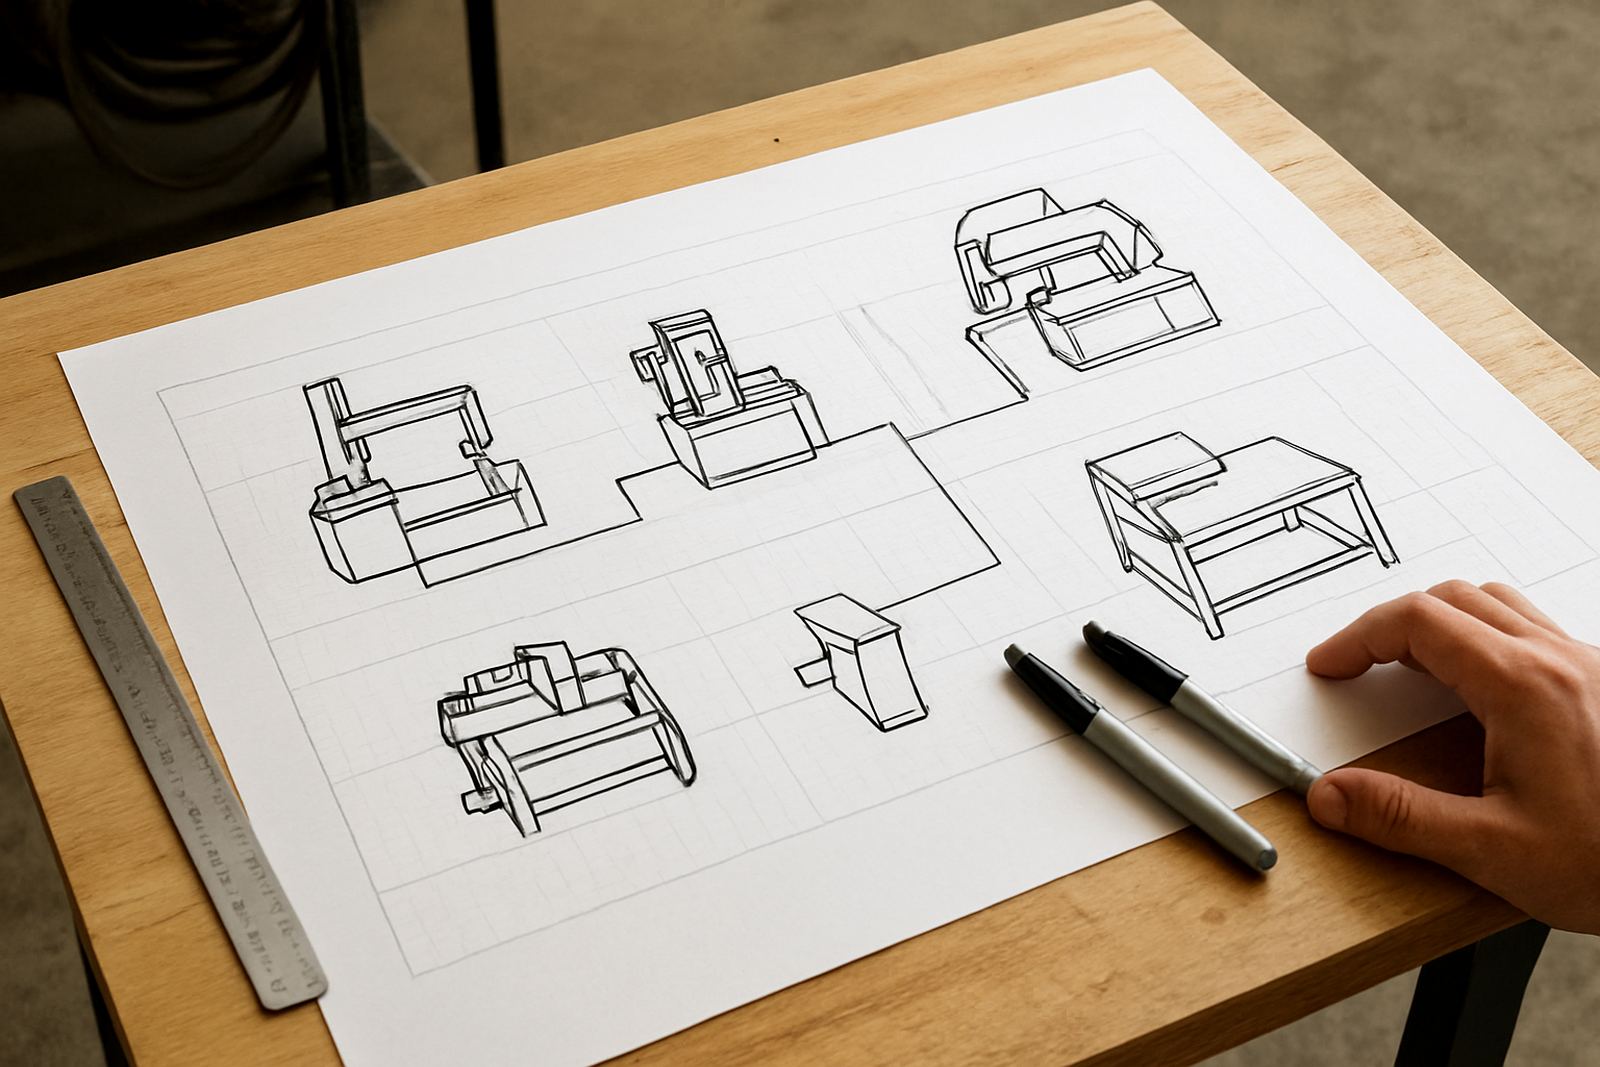
Before you mark a line on the floor, map the full path of a job from delivery to final install. In a typical sign-making space, material arrives, gets stored, is cut or bent, then moves to assembly, finishing, packing and dispatch. If those steps are far apart, people spend more time walking than producing. A practical layout puts the heaviest movement closest to the point of use, especially for return material, coils and tools that get used all day.
For a Midrand base serving Johannesburg, Pretoria and surrounding industrial areas, this matters even more when vehicles are coming in and out through the day. Keep delivery access clear, allow space for hand trolleys and make sure the path from storage to machine is not blocked by offcuts or crates. A small change, like turning a rack or shifting a bench 500 mm, can save several trips per job and reduce damage on sharp edges.
Measure Machine Access and Service Clearance Properly
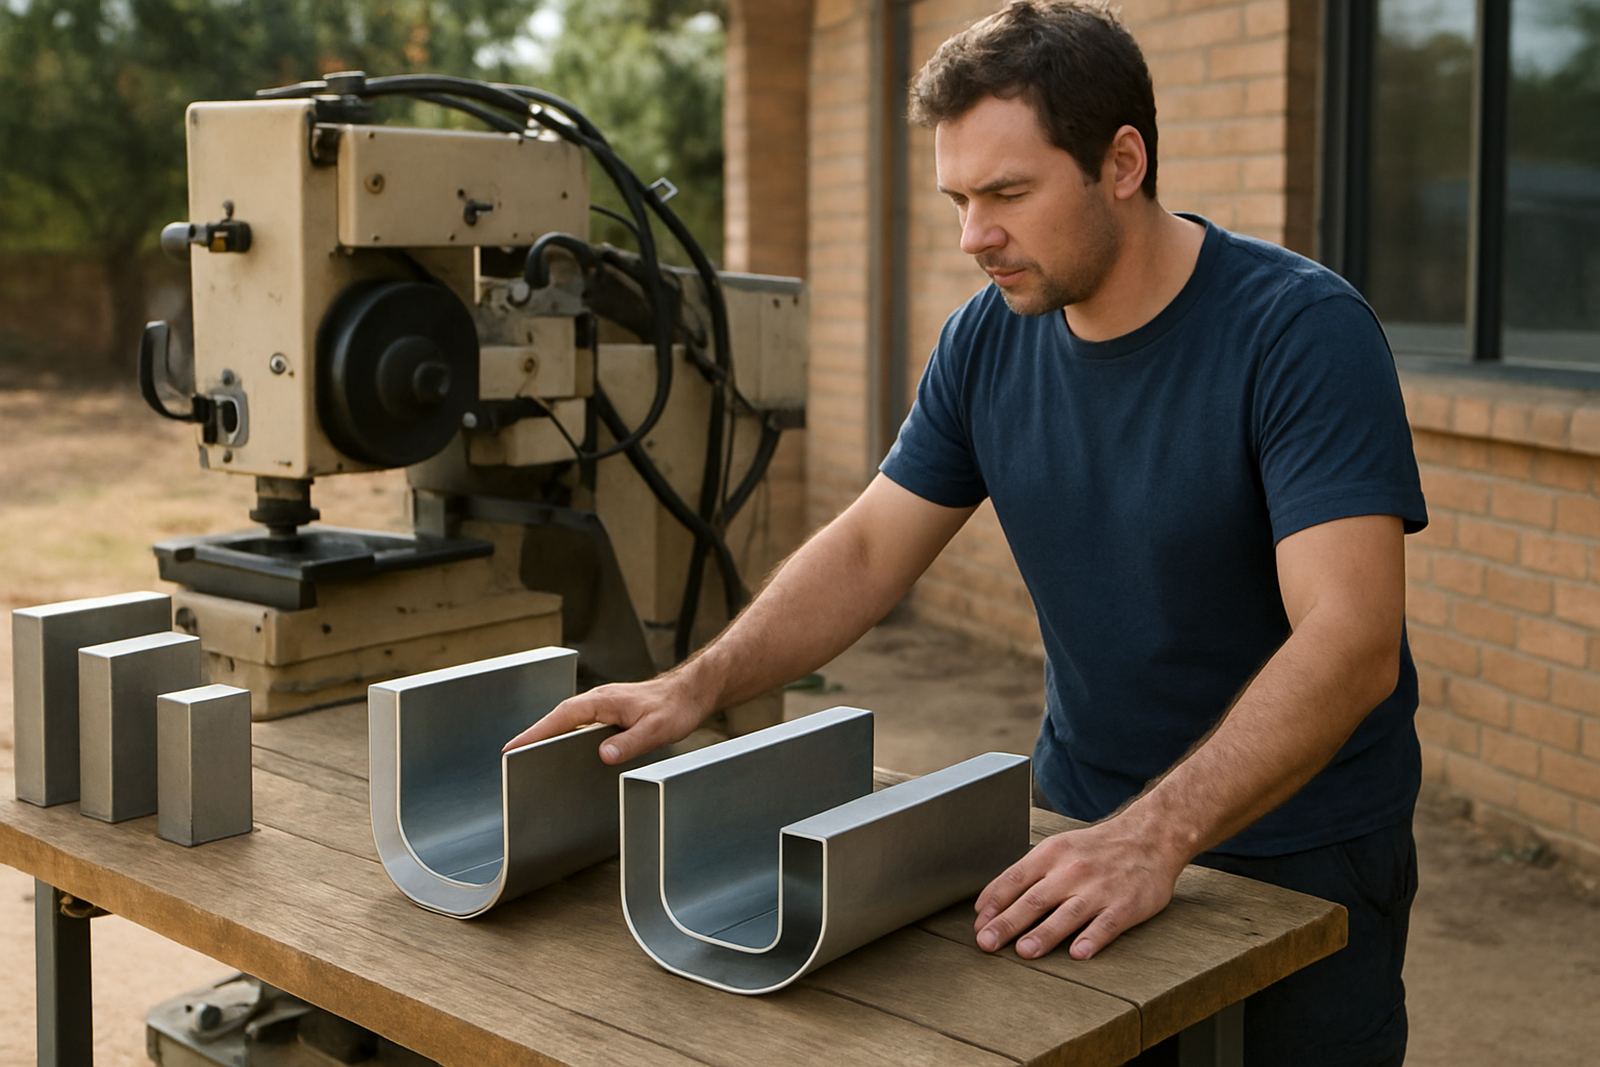
Channel-letter bending machines need more than the footprint on the brochure. You need space for loading coil, feeding return, opening covers, and working around the machine for maintenance. Leave enough room for an operator to stand comfortably at the feed side, and enough space at the output side to remove bent lengths without twisting them. In a tight room, that can mean planning the machine position around doors, pillars and power points instead of forcing the room to fit the machine.
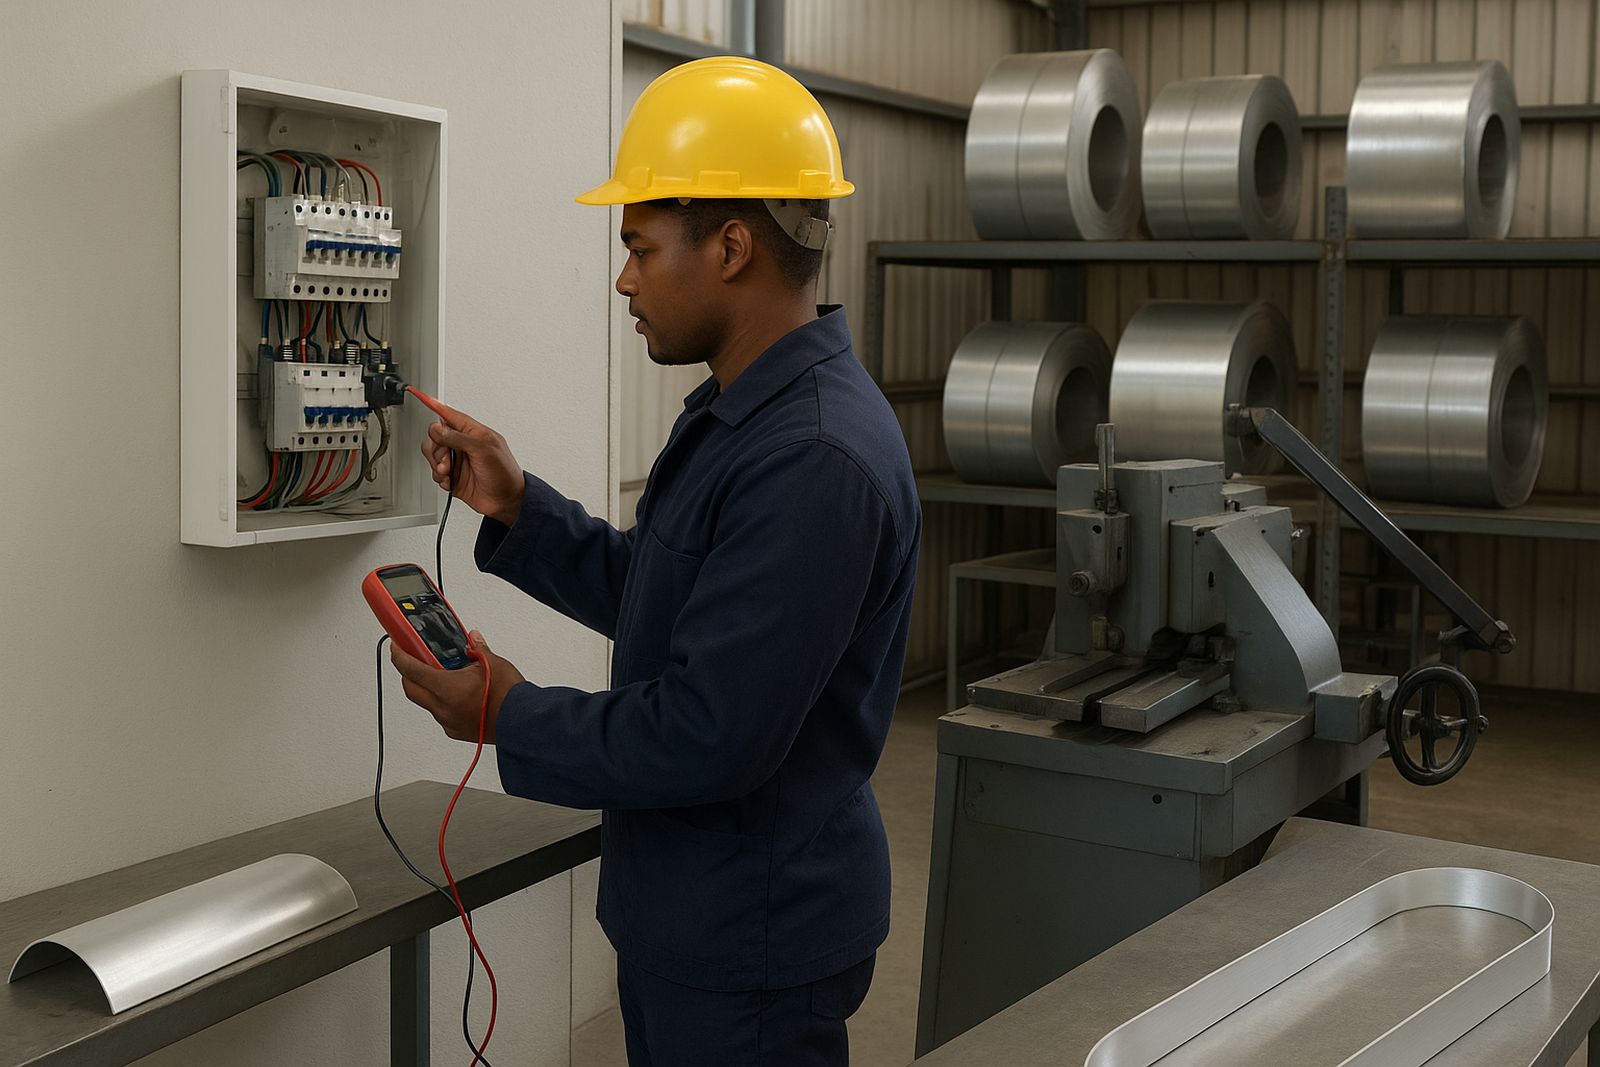
Check that there is also service access at the back and sides. You do not want to move a heavy unit every time a belt, sensor or drive part needs attention. Keep the power isolator within easy reach, and if the site gets load-shedding, plan where the backup supply or stabilised feed will sit so it does not sit in the walking line. A layout that looks neat but blocks maintenance will cost you later.
- Allow clear walking space around the machine for operators and technicians.
- Keep the feed side open for coil handling and return loading.
- Do not place storage racks where they restrict panel movement or cleaning.
- Leave access for cabling, isolators and routine servicing.
Separate Storage for Coils, Returns and Finished Work
Material storage should follow the order in which the job is used. Keep coils, returns and other raw items close to the machine, then move assembly stock and finished signs to a separate area. When all three are mixed together, staff waste time searching and the chance of scratches goes up. In coastal humidity areas such as Durban, proper storage also helps prevent surface marking and early wear on exposed materials.
Use clearly marked bays for different widths, colours and thicknesses. If your team handles several site jobs at once, label shelves by job number or client name so parts do not get mixed. You do not need a large warehouse to do this well, just disciplined zoning and a system everyone follows. A clean staging zone also makes stock counts faster at month end.
- Store fast-moving items closest to the machine.
- Keep finished letters and components in a clean, dry area.
- Separate fragile items from bulk stock and scrap.
- Use labels that are visible from standing height.
Build an Assembly Area That Supports Accuracy
Assembly needs stable benches, good light and enough room for two people to work without bumping into each other. If your team applies trim, fixes components or checks fit before dispatch, give them a clean surface with space for trays, tools and jigs. Good lighting matters a lot when you are checking corners, spacing and edge quality, especially on darker finishes and smaller letter sizes.
Try to keep the assembly area near the machine but not in the same line of travel. That way the machine can keep running while another team finishes previous work. If floor space is limited, use a one-way flow so material does not keep crossing back over completed work. One simple rule helps: nothing unfinished should pass through the finished goods area, and nothing dusty should be handled near packed work.
Plan for Power, Air and Backup Operations
Many sign shops lose time because utilities were not planned with the layout. Put power outlets where machines, lighting and chargers actually sit. Avoid trailing leads across walkways and do not rely on a single extension for the full production area. If compressed air is used on site, place the compressor where noise and heat will not affect staff comfort or finished work.
Because South African sites often deal with outages, your layout should still work when the power is interrupted. Keep essential hand tools, labelled parts and manual checklists where they can be reached quickly. If you use a generator or inverter setup, allow ventilation and safe cable routing, and make sure the operator does not have to move through cramped areas to restart production. A good plan keeps the day moving even when supply is unstable.
Check Movement, Safety and Install Readiness Before Sign-Off
Before you lock in the layout, walk the space as if you were doing a full job. Start at delivery, move to storage, then to machine access, assembly, finishing and loading. Look for sharp corners, narrow passages, low shelves and places where people may need to turn sideways with long material. If a trolley cannot pass through comfortably, it will become a bottleneck later.
For installation planning, keep a separate staging area for packed signs, fixings and tools. This reduces last-minute searching on the day of the fitment. It also makes it easier to load vehicles in the correct order for multi-site work in Midrand, Sandton, Pretoria or further afield. If your team uses a clear checklist from start to finish, the layout supports the job instead of fighting it.
- Can a person move material from delivery to storage without backtracking?
- Can the machine be loaded and cleaned without moving another item first?
- Is there a separate, clean area for finished work and dispatch?
- Are power, lighting and backup supply positioned for real daily use?