

Start with a daily walk-around before the first bend
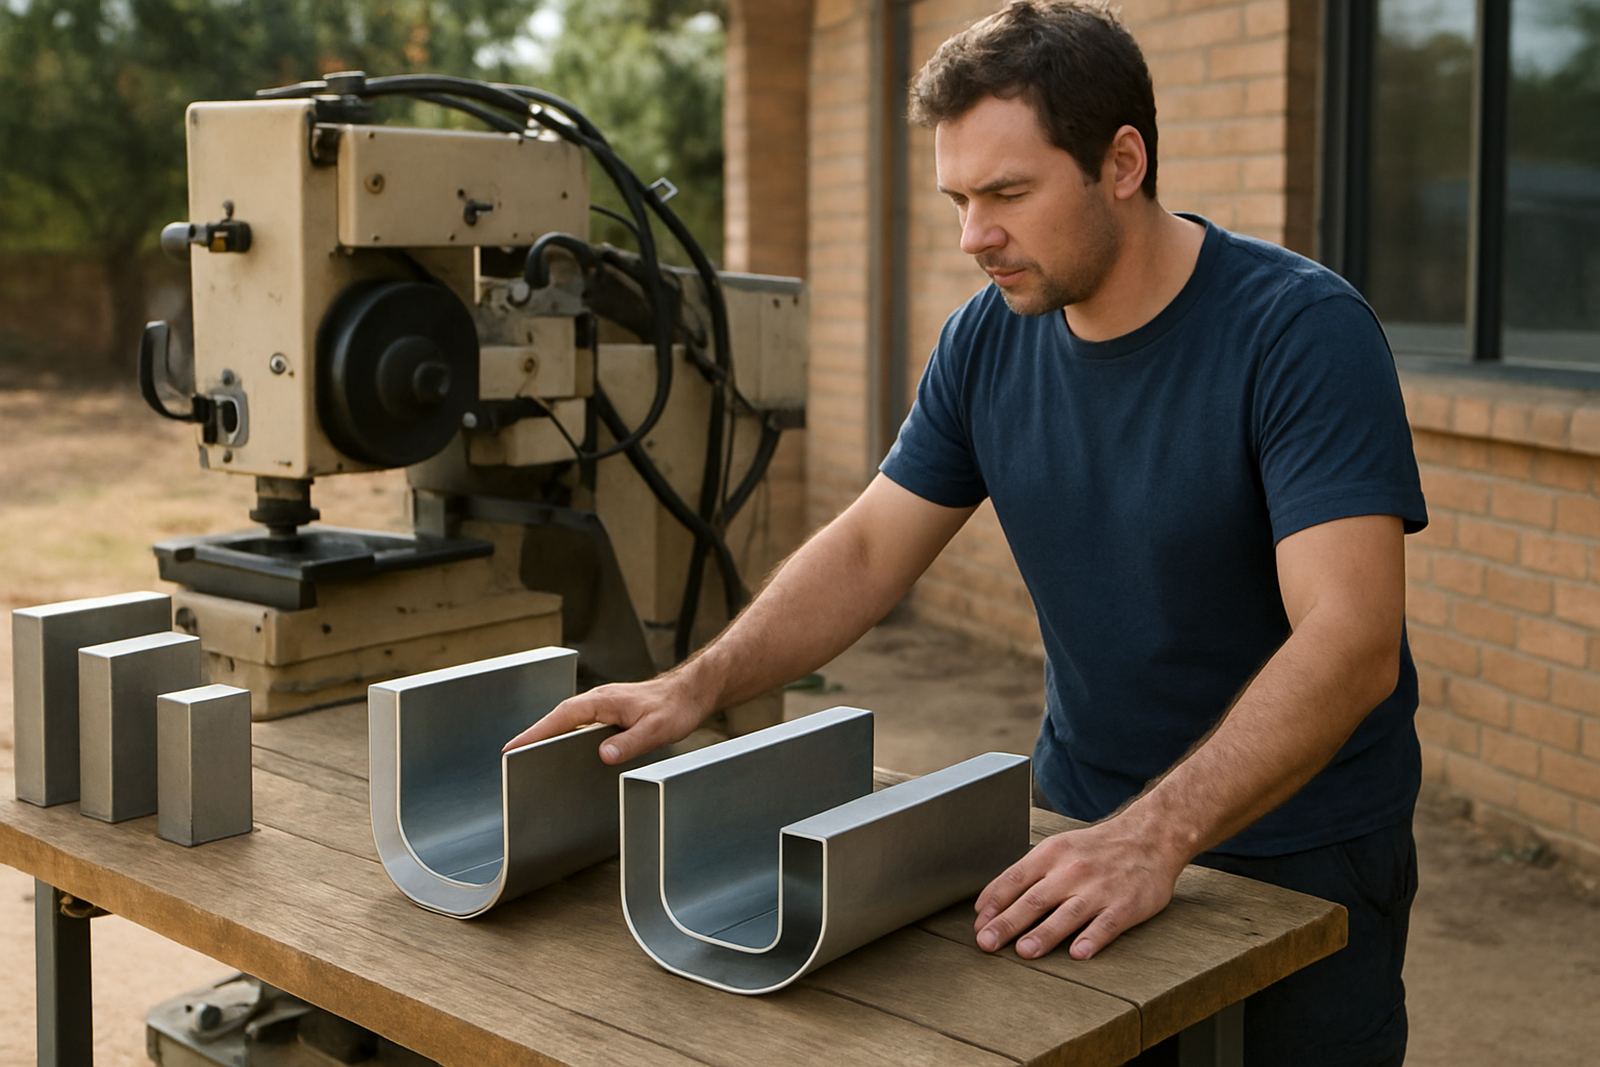
Before you load coil or switch on the heater, do a quick walk-around while the machine is still cold. Look for loose fasteners, dust build-up, damaged cables, air leaks on pneumatic systems and anything rubbing where it should not. In Midrand, Pretoria and the East Rand, fine dust from workshops can build up fast, so a 5 minute check at the start of the shift saves time later.
Check that the feed path is clear and that the material sits squarely in line. If the return starts drifting, the first cause is often something simple such as a guide that has moved, a roller that has picked up debris, or a coil that was loaded a bit too tight. It sounds basic, but many callouts are just from a missed start-of-day check.
- Inspect cables, plugs and emergency stops
- Wipe away dust from guides and rollers
- Confirm air supply, pressure and drain points
- Check for unusual noise before production starts
Keep the feed, guides and rollers clean and aligned
Clean feeding is one of the biggest factors in repeatable bends. Aluminium and painted coil can leave fine residue on rollers and guides, and that residue affects how the material tracks. Use a dry cloth first, then a suitable non-corrosive cleaner if needed. Avoid soaking any parts, especially where sensors or wiring sit close to the moving section.
Alignment matters just as much as cleanliness. If the feed is even slightly off, the return can twist or the bend line can wander. When a job starts to show a regular error, stop and check the guide spacing, roller condition and whether the material width matches the setup. On a busy day it is tempting to push on, but that usually costs more in scrap.
- Remove swarf and dust from all contact points
- Check rollers for flat spots or scoring
- Verify guide spacing against the return width
- Make sure all locking knobs are tight after adjustment
Watch heat settings and cutting accuracy through the shift
Correct heat and clean cutting work together. If the material is under-heated, bends can crack or spring back. If it is over-heated, the return can distort and the finish may look rough. In hotter coastal towns like Durban, workshop conditions can affect how the material behaves, so it helps to note the setting that works best for different coil types and room temperatures.
Check the cutter, blade path and any heaters at regular intervals through the day. If cut edges start to feather, snag or leave a burr, stop and inspect before the issue spreads across a full batch. A small edge problem can turn into a full production delay, especially when you are working towards an install deadline and the client is waiting on the last set of letters.
- Test heat settings on offcuts before full production
- Inspect blade sharpness and cutting pressure
- Record the best settings for each material type
- Watch for colour change, scorching or uneven forming
Weekly servicing that prevents bigger breakdowns
A weekly service routine keeps the machine stable under load. Tighten all accessible fixings, check belts or drive components where fitted, and inspect moving parts for wear. If the machine uses compressed air, drain moisture from filters and water traps. In many Gauteng workshops, load-shedding and restarts can leave systems cycling harder than usual, so it pays to check after power interruptions too.
Look at the condition of electrical connections and any exposed control wiring. Heat, dust and vibration slowly loosen terminals and that can lead to intermittent faults that are hard to trace. If the machine has been standing idle over a public holiday or a slow period, do not go straight into production. Run a short test cycle first and listen for anything that sounds different.
- Tighten fasteners and mounting points
- Drain moisture from air systems
- Inspect belts, bearings and drive parts
- Run a test cycle after outages or long shutdowns
Spares, consumables and the signs that replacement is due
Do not wait for a complete failure before ordering spares. Keep the items that stop production quickest on hand, including cutters, rollers, belts, sensors and common electrical parts where applicable. A small stock of consumables is often cheaper than losing half a day while you wait for a courier from another province.
Replace parts when wear becomes visible, not only when they fail. If a roller starts leaving marks, if the cutter needs extra pressure to do its job, or if a sensor has to be nudged to work, that part is already past its best. The same applies to coils and returns stored badly. Damaged edges, crushed packaging and moisture exposure will show up later as poor forming or weak finish.
- Keep a small spares list by machine model
- Replace worn cutters before they start tearing material
- Store coils flat, dry and off the floor
- Label opened stock so old material gets used first
A simple fault check before you call for support
Some faults can be narrowed down quickly if you follow the same sequence each time. Start with power, then air, then feed, then heat, then software or control settings if your unit uses them. That order cuts out a lot of guesswork. Keep a written note of what you changed, when the fault started and what material you were running at the time. It helps our technical team give better guidance and saves repeat trips.
If the machine stops mid-job, isolate it safely before touching anything inside. Check for jammed offcuts, misfed coil, loose connectors or a tripped protection device. If the fault returns after reset, do not keep cycling it. A machine that keeps tripping is telling you something, and the cause is usually there if you slow down and look properly.
For teams in Midrand, Sandton, Pretoria, the East Rand, the West Rand and Durban, a clear fault note makes remote help much faster. It also helps during onsite commissioning, refresher training and production coaching, where the same machine may behave differently in different workshop conditions.