
Start with the machine where the work naturally arrives
Your channel letter bending machine should sit close to the material store and the first point of prep. If operators must carry coils, returns or cut lengths across the workshop before every run, time is lost and the risk of dents goes up. In a busy Midrand unit, that wasted movement adds up quickly when you are turning jobs for Sandton offices, Pretoria retail parks and Durban installers in the same week.
Place the machine on a level floor with enough space at the infeed side for coils, return material and a small staging table. Leave clear access at the operator side for maintenance, cleaning and quick checks. If the machine is tucked too close to a wall, any fault or jam becomes harder to deal with and the whole line slows down.
- Allow a straight path for material coming off racks or trolleys
- Keep at least one full working zone clear around the machine for operator movement
- Put power points and network points where cables will not cross walkways
- Plan for load-shedding with battery backup or generator access where practical
Map the flow from raw stock to finished sign parts
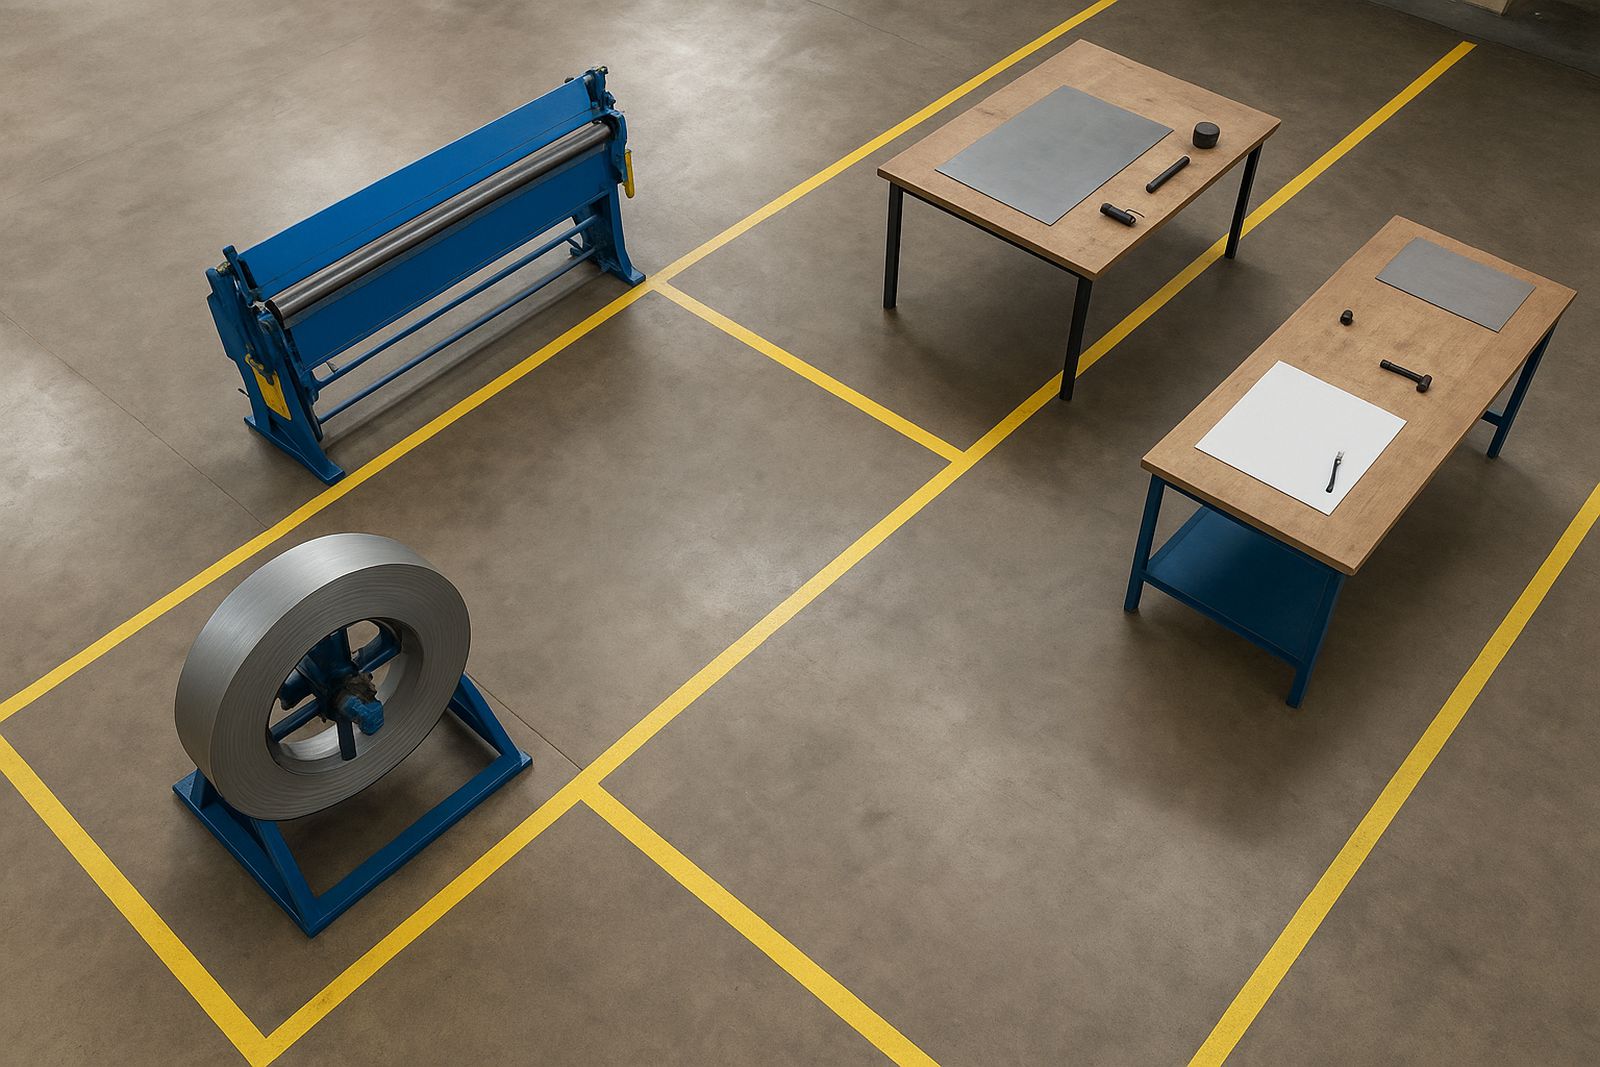
Workshop flow should follow the order of work, not the shape of the building. A simple route works best: receiving, storage, cutting or prep, bending, deburring, finishing, assembly and packing. When these steps sit in the wrong order, material backtracks and people cross paths carrying sharp edges or large panels.
In coastal cities like Durban, keep stored stock off the floor and away from open doors where humidity can affect finishes and cartons. In Gauteng, dust is often the bigger issue. A clean route with defined bays helps protect material, especially where powder, swarf and adhesive offcuts collect through the day.
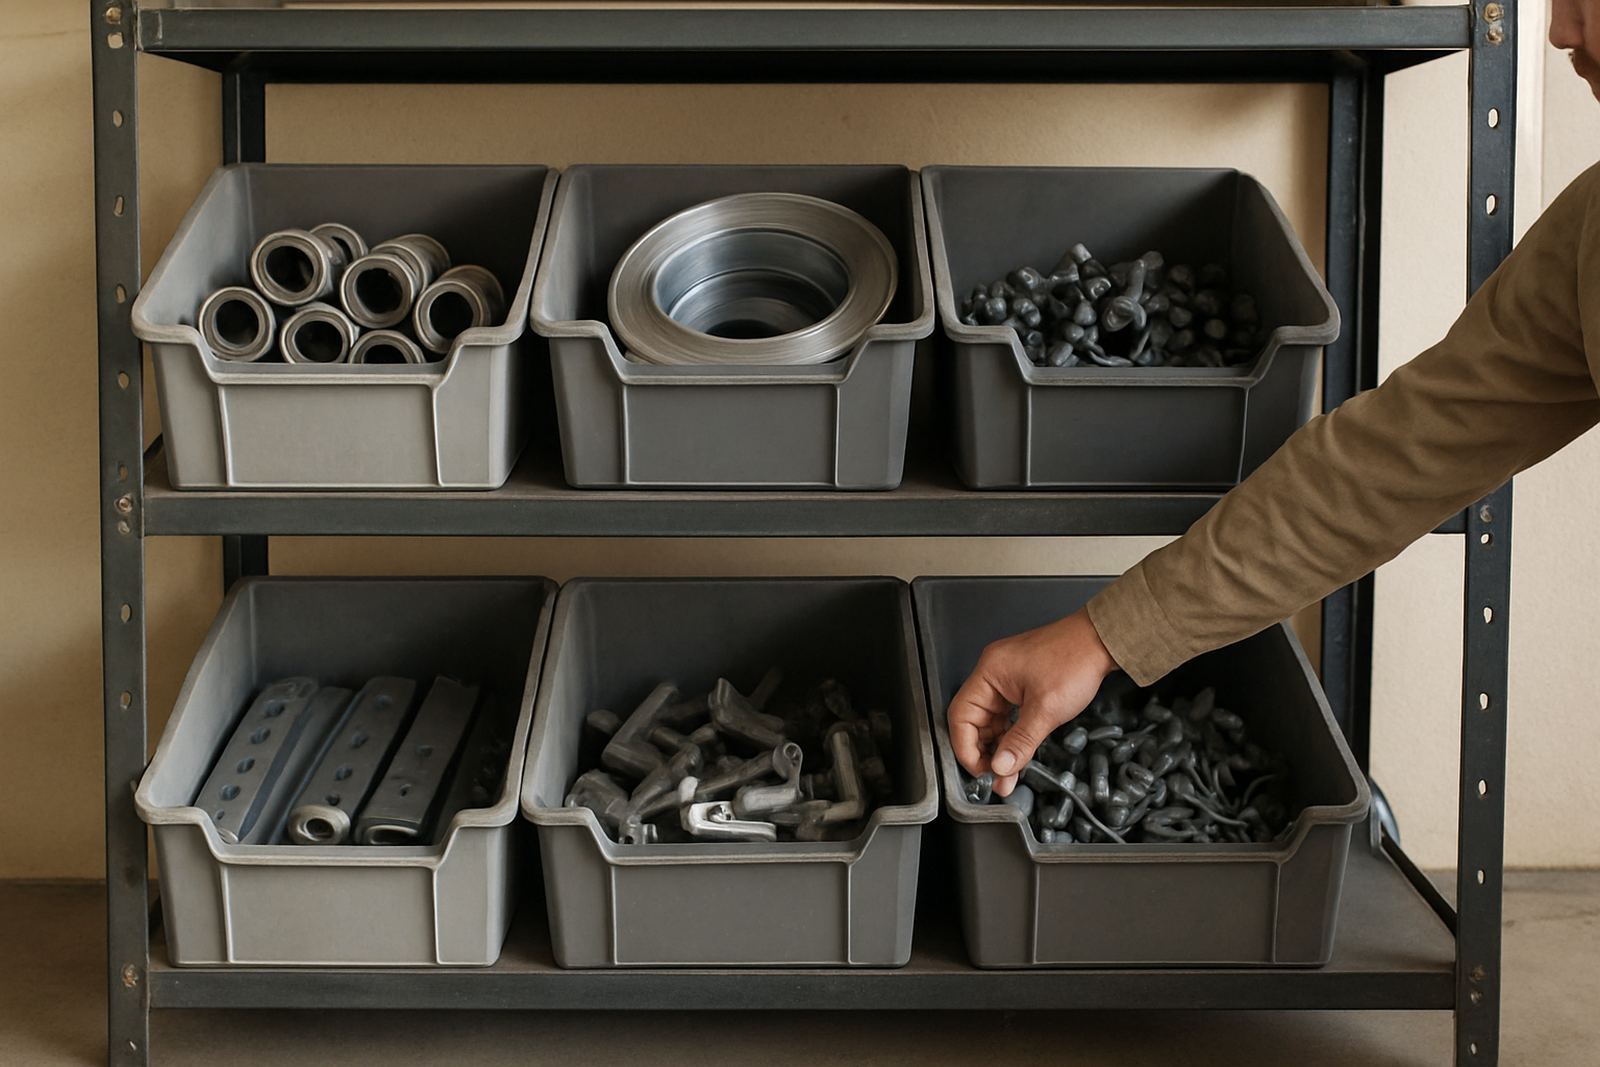
- Use marked bays for coil stock, return strips, cut sections and completed letters
- Keep walkways wide enough for trolleys and two-way movement where possible
- Separate dirty work from clean work so finishing does not pick up filings
- Store fast-moving items near the machine, slow-moving stock further back
Build a finishing area that does not choke the floor
Finishing often becomes the bottleneck because it is treated as an afterthought. A proper finishing area should have a flat bench, good lighting and enough room for trimming, cleaning, adhesive work and final checks. If it sits in the main traffic lane, people will keep stopping and turning, which slows every other job around it.
For sign makers who do onsite commissioning, it helps to keep a packing point near the exit so completed letters, coils and fittings can be loaded without carrying them back through the workshop. This is especially useful when installations are scheduled across Midrand, the East Rand and Pretoria on the same day. A clear handover point also makes it easier to count parts before loading.
- Set aside one bench for clean finishing only
- Keep sealants, wipes and small tools in labelled containers
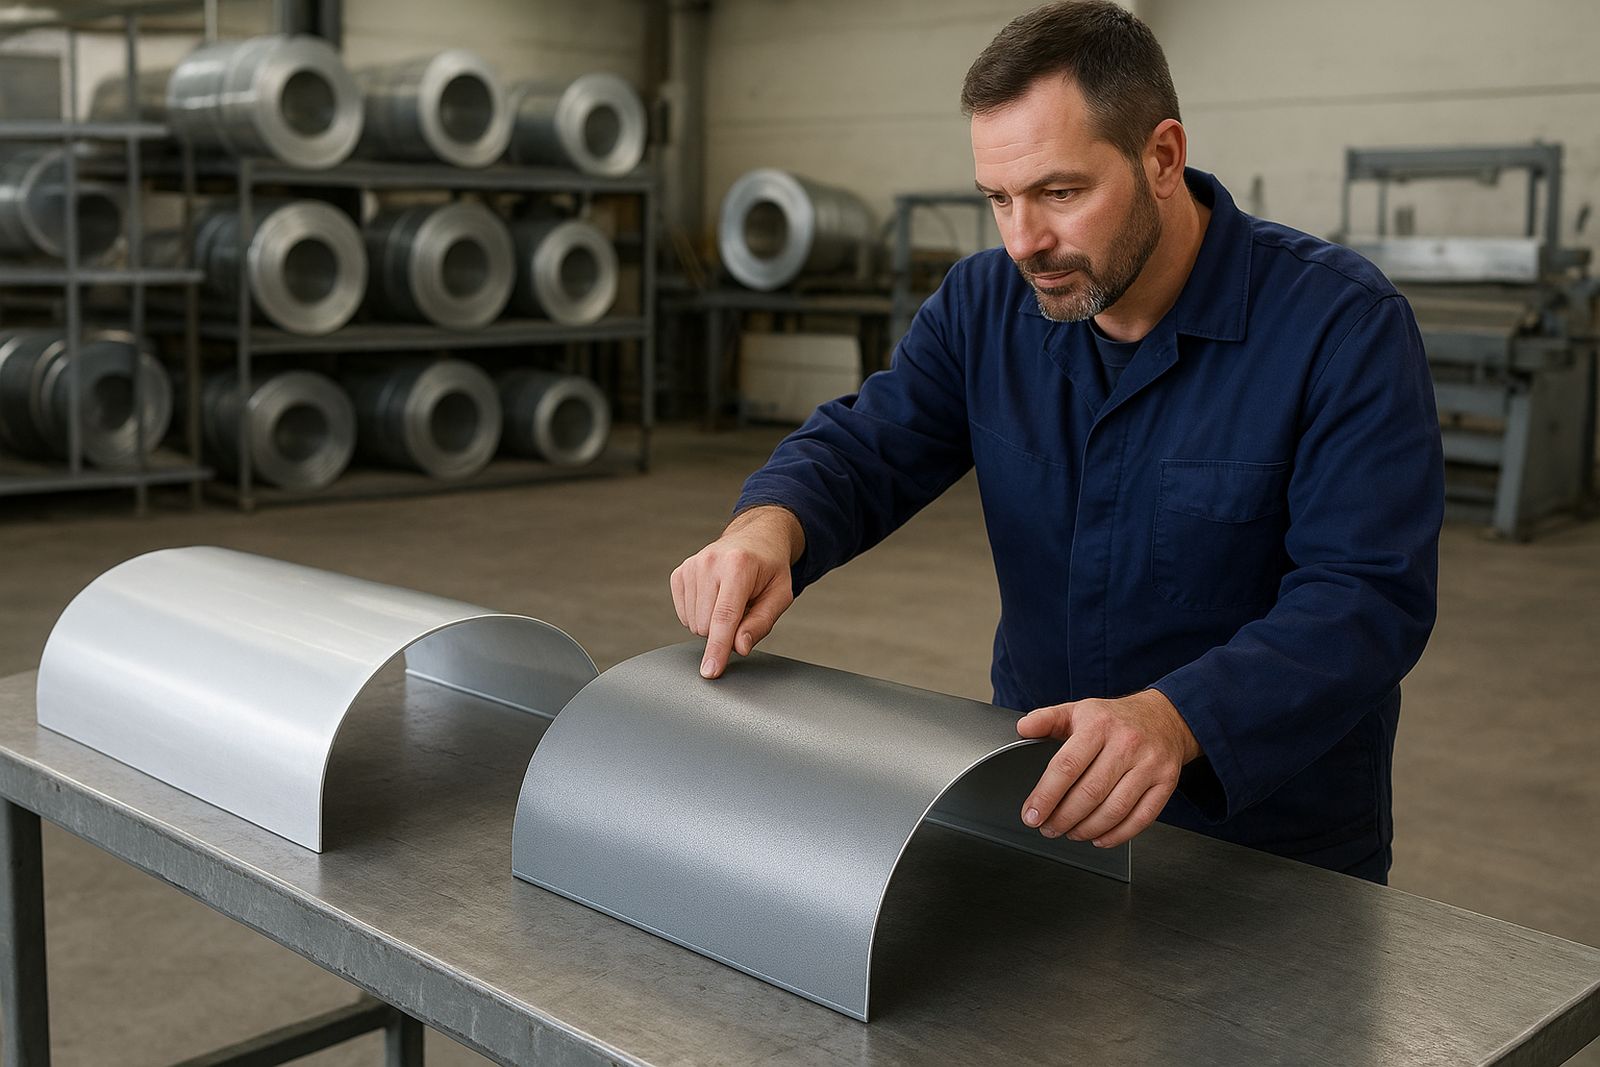
- Use lighting that shows edge defects and surface marks clearly
- Place packing material close to finished stock so items are not dragged around
Plan for training, support and machine access from the start
Many workshops grow around the first machine and only later try to fix the layout. That is when shortcuts appear, such as storing spares under benches or keeping training material wherever space happens to be free. A better approach is to leave a small, quiet area for operator training, refresher sessions and remote tech help calls when needed.
Even a simple layout can support better production if the team knows where every item lives. The operator should not need to ask twice for returns, clips or spares. When your support team includes sales, technical and installations staff, as it does in many busy sign shops, the layout should make handovers easy between prep, production and site work.
If your machine needs frequent checks, position it so service access is simple and safe. Preventive servicing goes faster when the technician can reach the drive side, control side and material path without moving a stack of panels or a rack of coil. That is also good practice for breakdown support, because a clear workspace saves time when a job is already behind schedule.
Use local working conditions to guide storage and movement
South African workshops deal with different conditions depending on the area. Midrand units often work with tight industrial space and power interruptions, while Pretoria and the East Rand may face larger trade volumes and more frequent deliveries. Durban brings higher humidity and salty air, so stock protection matters more. Your layout should reflect these realities instead of copying a generic floor plan.
If your site gets municipal inspections or must keep loading areas clear for other tenants, plan your receiving zone near the gate and avoid stacking material near fire exits. Where municipal rules are stricter, floor markings and clear aisles also help staff keep the workshop orderly. It is a small change but it makes daily operations easier, especially when trucks arrive early and installation crews need to load out quickly.
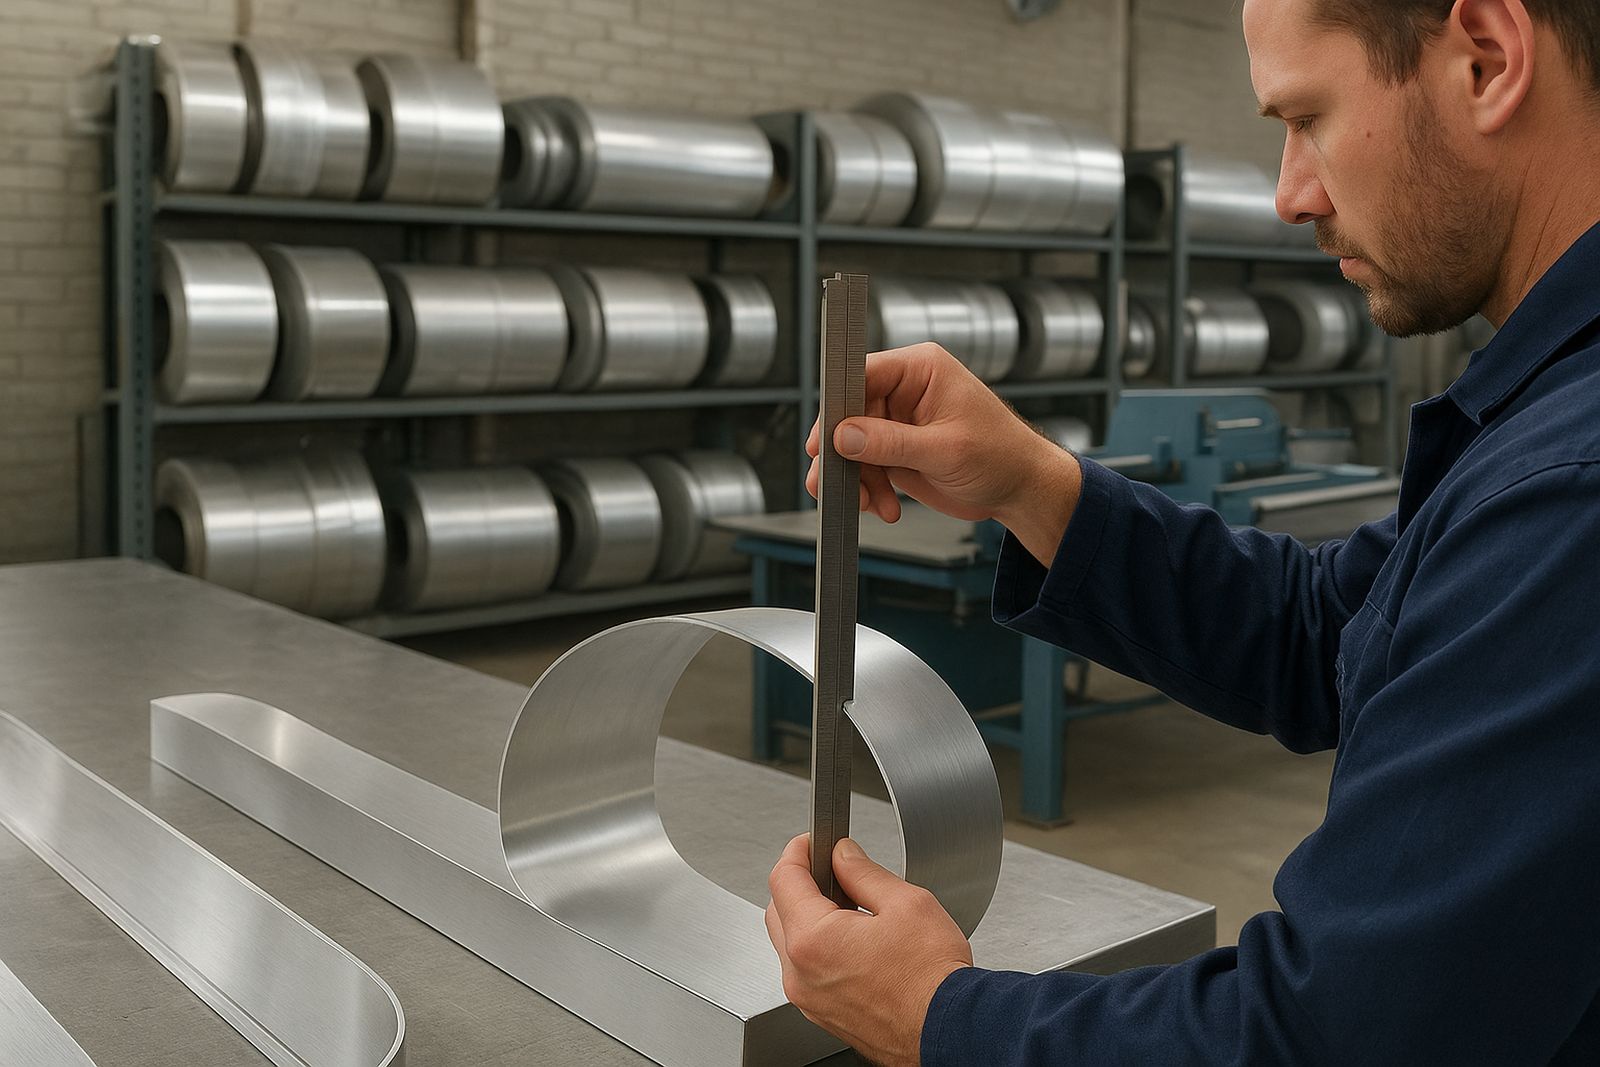
Think in metres, not guesswork. Measure aisle widths, bench lengths and machine clearance before moving heavy items. In a workshop where every square metre counts, a layout that saves even two or three steps per job will pay for itself over time.
A Midrand example: small changes that improved output
A typical Midrand sign maker working on channel letters, coil returns and fittings often starts in a cramped unit with stock on one side and finishing squeezed into the back. By moving the machine closer to storage, creating one clean bench for finishing and keeping packed orders near the door, the team can cut unnecessary walking and reduce handling damage.
One client setup we see often is a machine placed too far from the coil rack. Operators then carry stock across the floor, which slows the shift and creates a real trip hazard. Once the rack is shifted next to the infeed side and the offcut bin moved to the opposite end, the workflow becomes easier to manage and the floor stays tidier. It is not fancy, but it works.
That is the point of good workshop layout. You are not trying to make the space look impressive, you are trying to make the next job simpler, safer and quicker to finish.
Keep checking the layout as the business grows
A layout that works for one machine and two staff may fail when you add another shift, another product line or more installation work. Review the floor every few months and ask where people wait, where stock piles up and where jobs stall. If the same corner keeps filling with half-finished parts, that is a sign the flow needs adjusting.
Small changes can make a big difference: move a trolley, widen a path, shift the finishing bench, or separate clean packing from cutting dust. The best workshops are not the biggest ones, they are the ones where material moves with the least resistance and the team can focus on production instead of walking around obstacles.